
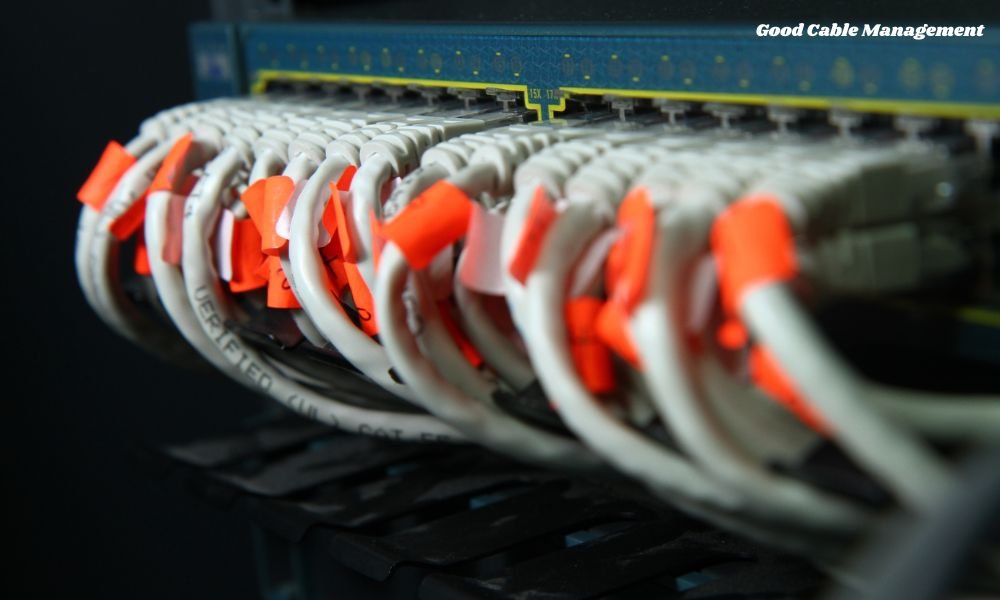
Building or upgrading a desktop computer is an exciting project, but there is one crucial step that many people overlook: organizing the wires. A tangle of cables inside and outside your computer case isn’t just an eyesore; it can actively hinder your system’s performance, make upgrades a headache, and trap dust over time.
Mastering how to do cable management PC style is a skill that separates amateur builds from clean, professional setups. Whether you are building a high-end gaming rig or a simple workstation, this step-by-step guide will walk you through everything you need to know to achieve a clean, efficient, and visual-appealing computer setup.
Why Proper Cable Management Matters
Proper cable management is more than simply making your desk look tidy—it helps create a safer, cleaner, and more productive workspace. Tangled and loose cables can cause clutter, collect dust, become tripping hazards, and make it frustrating to identify the right cord when needed. By organizing your cables with clips, sleeves, ties, or under-desk solutions, you can keep your workspace streamlined while protecting cables from excessive bending and pulling. For additional guidance on creating an efficient workspace, check out this desk cable management resource and discover practical ways to keep your setup neat and functional.
Tools and Accessories You Will Need
Having the right tools on hand before you start will save you time and frustration.
| Tool / Accessory | Primary Purpose |
| Zip Ties / Cable Ties | Securing cables permanently to the back of the case. |
| Velcro Straps | Reusable organization for cables you may move often. |
| Flush Cutters / Scissors | Trimming excess plastic from zip ties cleanly. |
| Self-Adhesive Cable Clips | Anchoring loose wires along flat surfaces. |
| Sleeving / Raceway Kits | Bundling external cables under your desk. |
Pre-Planning: Setting Up for Success
Proper planning prevents poor cable routing. Do not start plugging things in randomly hoping it will turn out neat.
Choose the Right Case and Power Supply
The physical hardware you choose plays a massive role in how easy the job will be. Look for a PC case that offers at least 15–20mm of clearance behind the motherboard tray, plenty of tie-down points, and rubber grommets over the passthrough holes.
For the power supply (PSU), a fully modular or semi-modular unit is ideal. Fully modular PSUs allow you to attach only the cables your components actually need, eliminating unused wires entirely.
Test Your Hardware First
Always perform a quick “breadboard” test (testing key components outside the case) before routing anything. Discovering a dead motherboard or faulty PSU after you have spent two hours meticulously tying down every wire is a frustrating experience.
Step-By-Step: Cable Management Inside the Case
Now that your setup is prepped, follow these steps to route your internal wiring effectively.
Step 1: Install the Power Supply First
Slide your modular PSU into its bay and attach only the cables you know you will use:
- 24-pin ATX motherboard cable
- 8-pin (or 4+4 pin) CPU power cable
- PCIe power cables for your graphics card
- SATA or Peripheral power cables for drives/hubs
Step 2: Route the Thickest Cables First
Always tackle the bulkiest cables first, as they dictate where everything else can go. Route the 24-pin main motherboard cable through the nearest rubber grommet or passthrough slot right beside the motherboard header. Next, feed the 8-pin CPU power cable up the back of the tray and out through the top-left cutout above the motherboard.
Step 3: Connect Front Panel Headers and Small Wires
Front panel connectors (Power SW, Reset SW, HD Audio, front USB) are thin, fidgety, and easy to mess up. Feed them through the bottom cutouts of the motherboard tray. Bundle them together early so they lie flat against the tray rather than crisscrossing across the motherboard.
Step 4: Route SATA and Fan Cables
Fan wires and SATA data cables are thin and prone to tangling.
- Fans: Daisy-chain fan cables where possible, or connect them to a centralized fan hub on the back of the tray. Route fan wires along the outer edges of the case frame.
- SATA Drives: Route SATA cables along the same channels as your PSU power cables.
Step 5: GPU Power Cables
Run the PCIe power cables to your graphics card. For a clean look, bring them straight up from the bottom grommet or horizontally from the side grommet. Avoid letting the cables droop down across the front of the GPU fans.
Step 6: Secure and Bundle behind the Tray
Turn the case around to face the back of the motherboard tray.
- Group parallel cables together into main “trunks.”
- Use zip ties or Velcro straps to anchor these trunks to the built-in tie-down loops on the tray.
- Pull cables taut—but not overly tight—to ensure the rear side panel can slide shut without forcing it.
Cleaning Up External Desk Cables
Managing the wires inside your computer case is only half the battle. The wires running from your PC to your monitor, wall outlet, and peripherals also need attention.
- Group Desk Wires: Combine monitor, keyboard, and mouse cables into a single braided cable sleeve.
- Under-Desk Trays: Mount a wire mesh tray or raceway under your desk to hold power strips and power bricks off the floor.
- Adhesive Hooks: Use sticky cable clips along the back edge of desk legs to run power cords down to the outlet out of sight.
Common Mistakes to Avoid
Even experienced builders make simple errors during cable management. Keep an eye out for these mistakes:
Warning: Never pull cables so tightly that they exert strain on motherboard headers or graphics card ports. Tension can bend pins or break connectors over time.
- Zipping Too Early: Don’t cinch down zip ties until every single cable is plugged in and verified working.
- Blocking Side Panels: Placing thick cable intersections directly on top of each other will cause the side panel to bulge or refuse to close. Spread cables out flat across the back tray.
- Sharp Turns: Avoid bending thick power cables at sharp 90-degree angles near their connectors.
Final Thoughts
Learning how to do cable management PC builds require isn’t about perfection on your very first try—it is about patience and practice. While spending extra time routing wires might feel tedious when you are eager to turn on a new computer, the rewards are well worth the effort.
A clean build offers better thermal dynamics, easier future troubleshooting, and the quiet satisfaction of looking through a glass panel at a perfectly organized machine. Take your time, plan your routing paths, and treat cable management as an integral part of the building process rather than an afterthought.