
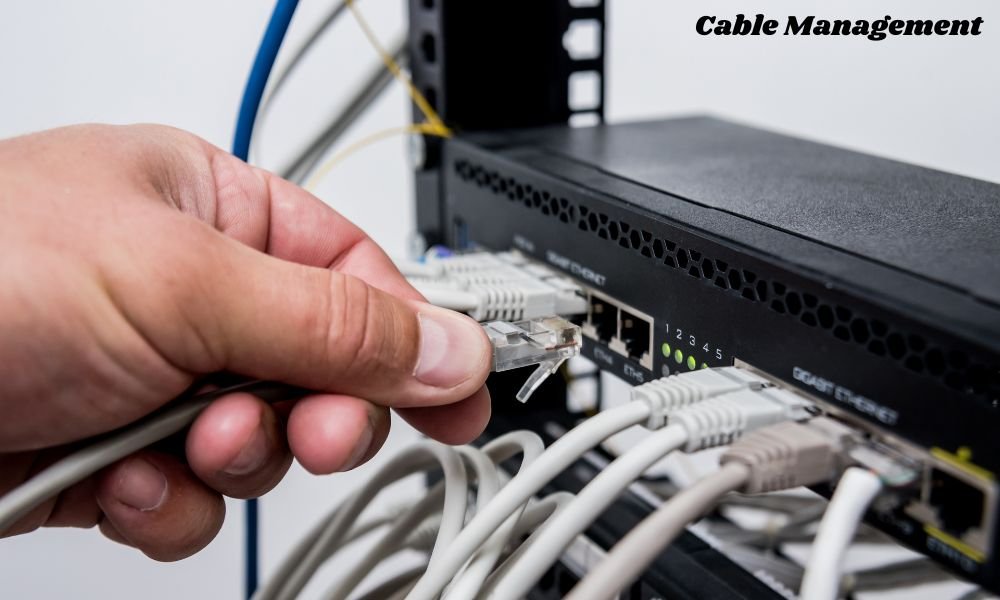
We have all been there. You set up a brand-new desk, plug in your computer, monitor, speakers, and chargers, and step back to admire your work—only to realize the space under your desk looks like a nest of electric snakes.
Messy cables are more than just an eyesore. They trap dust, make cleaning a nightmare, increase the risk of unplugging the wrong cord by accident, and can even pose a tripping hazard. Learning how to do cable management properly transforms your workspace into a clean, calm, and productive environment.
Here is everything you need to know to take control of your cords once and for all.
Why Good Cable Management Matters
Before diving into the process, it helps to understand why spending an hour or two on cable management is worth the effort:
- Visual Clarity: A clutter-free desk leads to a clutter-free mind.
- Easier Maintenance: Swapping out a device or cleaning your workspace becomes effortless.
- Preventing Damage: Tightly bent or strained cables degrade faster over time.
- Safety: Reduced tripping hazards and lower risk of damaging power strips.
Essential Cable Management Tools You Will Need
You do not need to spend a fortune to organize your wires, but having a few basic tools on hand makes the job significantly easier.
1. Velcro Straps vs. Zip Ties
Skip the plastic zip ties if you plan to change your setup in the future. Velcro cable ties are reusable, adjustable, and won’t pinch or damage sensitive wires.
2. Under-Desk Cable Trays
A sturdy cable tray mounted under the rear of your desk is the backbone of any serious setup. It keeps power strips and bulky brick adapters off the floor.
3. Cable Sleeves and Channels
For grouping multiple cords running along a wall or down a desk leg, neoprene sleeves or rigid plastic raceways hide everything inside a single neat tube.
4. Cable Clips and Adhesive Mounts
Small adhesive clips stick directly to the edge of your desk or wall to hold individual cords (like your phone charger or mouse cable) right where you need them.
Clear the Workspace and Unplug Everything
The biggest mistake people make is trying to organize cables while everything is still plugged in.
Start by shutting down your equipment and unplugging every single wire. Detach power bricks, USB cables, display cords, and audio leads. Clear off the floor beneath your desk completely. Starting with a blank canvas is essential for a clean result.
Group and Audit Your Cables
Take a few minutes to audit what you actually have.
- Discard unused cords: If you find a cable connected to nothing, put it away.
- Group by destination: Separate cables that go to the wall outlet from those connecting devices directly to your computer tower or hub.
- Measure distances: Identify which cables are far too long for the distance they cover. Extra slack is what creates clutter.
Mount Your Power Strip Under the Desk
The secret to a truly clean setup is keeping power strips off the floor.
Use double-sided mounting tape, screws, or an under-desk wire tray to secure your power strip to the underside of your desk surface or near the back edge. By lifting the power strip off the ground, only one main power cable needs to run down to the wall outlet.
Route Main Cable Trays and Channels
Install your primary cable tray or raceway along the back underside of your desk. This will serve as the central highway for all your heavy wiring, power bricks, and excess cord length.
If you have a standing desk, make sure your main cable trunk leaves enough slack to move smoothly from sitting to standing height without pulling on wall outlets.
Bundle and Secure Your Wires
Now it is time to connect your gear back up—one device at a time.
- Plug the device in and route the cable neatly toward your under-desk tray.
- Coil up any excess length using an “over-under” loop technique (avoid folding cords sharply).
- Secure the coiled excess with a velcro strap inside the tray.
- Use adhesive cable clips to guide cords along structural desk legs to hide them from view.
Label Your Cables for Easy Swaps
Nothing is more frustrating than needing to unplug a single monitor and accidentally shutting off your computer tower.
Wrap a small piece of painter’s tape or a cable label near the plug of each major wire. Write what device it belongs to (“Left Monitor,” “PC Power,” “Desk Lamp”). Your future self will thank you when it comes time to upgrade or repair gear.
Tidy Up Desk-Surface Cables
For cables that rest on top of your desk—like phone chargers, wired mice, or keyboard cables—use weighted cable anchors or small adhesive desktop clips. These stop cords from slipping off the back of the desk every time you unplug a device.
Pro Tips for Maintaining a Clean Setup
- Go wireless where sensible: A wireless keyboard and mouse instantly eliminate two visible cords.
- Use shorter cables: If your monitor is 1 foot away from your PC, swap out that 6-foot HDMI cable for a 3-foot one. Less cable means less work hiding it.
- Don’t over-tighten: Never pull cables taut or bend them at sharp 90-degree angles. Leave gentle curves to prevent internal wire breakage.
Common Cable Management Mistakes to Avoid
- Using standard zip ties tightly: Zip ties cut into cables over time and make re-routing a pain because you have to carefully snip them off.
- Hiding cords behind furniture without securing them: Throwing wires behind a cabinet isn’t organizing—it just moves the clutter out of sight until cables tangle into a knot behind the desk.
- Ignoring ventilation: Ensure power bricks wrapped inside trays have enough airflow so they do not overheat.
Final Thought
Mastering how to do cable management is less about perfection and more about creating a functional, stress-free space. You do not need an invisible setup straight out of a magazine photoshoot on your first try. Start by lifting your power strip off the floor, gathering loose wires into simple velcro loops, and taking it one cord at a time. Once you experience the clean, focused feeling of a tangle-free desk, you will never want to go back to the wire jungle again.