
How to use a dual monitor setup In a digital landscape where multitasking is no longer just a perk but a daily necessity, relying on a single display can feel surprisingly limiting. Whether you are toggling between spreadsheet tabs, coding while reviewing technical documentation, or simply streaming a podcast while designing graphics, screen real estate matters. Upgrading to a multi-screen environment is one of the most effective ways to transform your workflow. Here is a comprehensive walkthrough on how to select, connect, configure, and maximize a two-display workstation for peak efficiency. Why Make the Switch? The Power of Extra Screen Real Estate Adding a secondary screen isn't just about modern aesthetics; it fundamentally changes how you interact with software. Enhanced Focus: Instead of constantly switching between overlapping windows using Alt+Tab, your primary application stays front and center while secondary tools sit comfortably nearby. Streamlined Multitasking: Keep reference material open on one side while actively creating or editing content on the other. Reduced Cognitive Load: Having immediate visual access to necessary files reduces the mental friction of constantly searching through minimized tasks. Choosing the Right Displays and Accessories Before plugging anything in, ensure your hardware setup makes sense for your desk space and visual needs. Matching Size, Resolution, and Display Tech While you can technically connect two completely different displays, using screens of identical size and resolution creates a far smoother experience. A pair of 24-inch or 27-inch 1080p or 4K monitors generally hits the sweet spot for office work and media creation. Essential Ergonomic Mounts and Arms Standard desktop monitor stands take up valuable desk space. Investing in a dual-monitor desktop arm allows you to suspend both screens, clear up surface space, and tilt or swivel them precisely to prevent neck and eye strain. Checking Cable Ports and Connectivity The back of your computer or laptop dictates how your hardware connects. Take a quick look at your available ports before buying display cables. Port Type Common Use Key Advantage HDMI Laptops, PCs, TVs Audio and video transmit over a single cable DisplayPort Desktop GPUs, monitors Higher bandwidth, great for high refresh rates USB-C / Thunderbolt Modern laptops Transmits video, data, and power simultaneously Pro-Tip: If your laptop only has a single video output port, consider getting a dedicated laptop docking station. Docking stations expand a single USB-C or Thunderbolt connection into multiple display outputs, standard USB ports, and power delivery. Physical Placement and Desk Ergonomics How you position your displays directly impacts your comfort over long working hours. Identify Your Primary Focal Point: If you use one main display 80% of the time, place it directly in front of you, with the secondary panel off to the side at a gentle angle. If you use both equally, place the inner edges directly in line with your nose. Set the Eyeline Height: Position the top edge of both screens at or slightly below eye level. Maintain Distance: Set screens approximately an arm’s length away to minimize eye fatigue. Configuring Software for Windows and macOS Once connected, your operating system needs to know where each display physically sits on your desk. Setting Up on Windows Right-click anywhere on your desktop and select Display Settings. Click Identify to see which physical monitor is labeled 1 and 2. Drag and drop the screen icons on the layout map so your mouse moves seamlessly from left to right across the border. Under the Multiple displays dropdown, select Extend these displays. Setting Up on macOS Open System Settings and select Displays. Click Arrangement. Drag the display representations so they match your physical setup. Ensure the Mirror Displays box is unchecked so each panel functions as an independent desktop. Advanced Navigation Hacks and Shortcuts Once your hardware is aligned, learning keyboard shortcuts helps you navigate two displays without touching your mouse every few seconds. Windows Key + Left/Right Arrow: Instantly snaps an active window to the left or right half of the active screen. Windows Key + Shift + Left/Right Arrow: Moves an open window directly to the second display. Mac (Option + Green Window Button): Tiles windows easily on macOS layouts. Managing Taskbars and Virtual Desktops Having an identical taskbar or dock on both displays can keep your workflow organized without creating unnecessary clutter. In Windows Display Settings, you can choose whether the taskbar shows all open apps across both screens or only the applications currently residing on that specific screen. On macOS, enabling "Displays have separate Spaces" ensures that full-screening an application on one monitor doesn't turn the other screen black. Troubleshooting Common Dual Monitor Issues Blurry Text on One Screen: Check your resolution settings. Ensure both screens are running at their native pixel resolution rather than an interpolated lower resolution. Mouse Cursor Sticking on Edges: Re-align the display boxes in your display settings menu. If one screen is 4K and the other is 1080p, the mouse path can get caught on the virtual alignment boundary. Display Not Detected: Unplug the display cable, restart your computer, and ensure your graphics drivers are fully updated. Final Thought Transitioning to a two-monitor configuration is one of the most effective upgrades you can make to your daily workspace. It replaces constant tab-swapping with an expansive, intuitive digital canvas that feels natural to navigate. By choosing complementary displays, optimizing your physical ergonomics, and configuring your OS settings correctly, you unlock a cleaner, faster, and far more enjoyable computing environment. Once you get used to the convenience of two screens, returning to a single monitor is a shift you likely won't ever want to make.

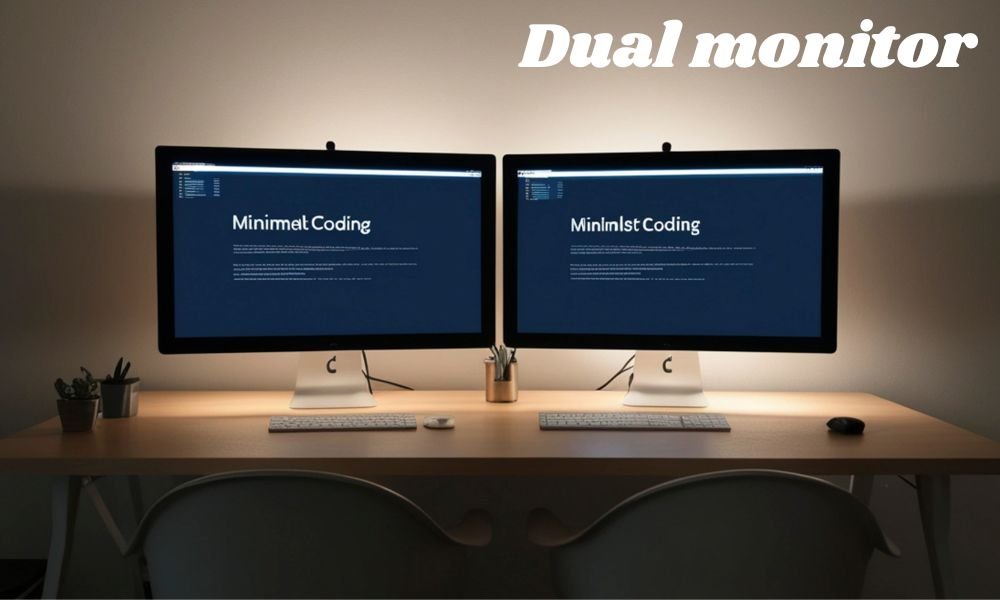
How to use a dual monitor setup

In a digital landscape where multitasking is no longer just a perk but a daily necessity, relying on a single display can feel surprisingly limiting. Whether you are toggling between spreadsheet tabs, coding while reviewing technical documentation, or simply streaming a podcast while designing graphics, screen real estate matters.

Upgrading to a multi-screen environment is one of the most effective ways to transform your workflow. Here is a comprehensive walkthrough on how to select, connect, configure, and maximize a two-display workstation for peak efficiency.

Why Make the Switch? The Power of Extra Screen Real Estate

Adding a secondary screen isn’t just about modern aesthetics; it fundamentally changes how you interact with software.

  • Enhanced Focus: Instead of constantly switching between overlapping windows using Alt+Tab, your primary application stays front and center while secondary tools sit comfortably nearby.
  • Streamlined Multitasking: Keep reference material open on one side while actively creating or editing content on the other.
  • Reduced Cognitive Load: Having immediate visual access to necessary files reduces the mental friction of constantly searching through minimized tasks.

Choosing the Right Displays and Accessories

Before plugging anything in, ensure your hardware setup makes sense for your desk space and visual needs.

Matching Size, Resolution, and Display Tech

While you can technically connect two completely different displays, using screens of identical size and resolution creates a far smoother experience. A pair of 24-inch or 27-inch 1080p or 4K monitors generally hits the sweet spot for office work and media creation.

Essential Ergonomic Mounts and Arms

Standard desktop monitor stands take up valuable desk space. Investing in a dual-monitor desktop arm allows you to suspend both screens, clear up surface space, and tilt or swivel them precisely to prevent neck and eye strain.

Checking Cable Ports and Connectivity

The back of your computer or laptop dictates how your hardware connects. Take a quick look at your available ports before buying display cables.

Port TypeCommon UseKey Advantage
HDMILaptops, PCs, TVsAudio and video transmit over a single cable
DisplayPortDesktop GPUs, monitorsHigher bandwidth, great for high refresh rates
USB-C / ThunderboltModern laptopsTransmits video, data, and power simultaneously

Pro-Tip: If your laptop only has a single video output port, consider getting a dedicated laptop docking station. Docking stations expand a single USB-C or Thunderbolt connection into multiple display outputs, standard USB ports, and power delivery.

Physical Placement and Desk Ergonomics

How you position your displays directly impacts your comfort over long working hours.

  1. Identify Your Primary Focal Point: If you use one main display 80% of the time, place it directly in front of you, with the secondary panel off to the side at a gentle angle. If you use both equally, place the inner edges directly in line with your nose.
  2. Set the Eyeline Height: Position the top edge of both screens at or slightly below eye level.
  3. Maintain Distance: Set screens approximately an arm’s length away to minimize eye fatigue.

Configuring Software for Windows and macOS

Once connected, your operating system needs to know where each display physically sits on your desk.

Setting Up on Windows

  1. Right-click anywhere on your desktop and select Display Settings.
  2. Click Identify to see which physical monitor is labeled 1 and 2.
  3. Drag and drop the screen icons on the layout map so your mouse moves seamlessly from left to right across the border.
  4. Under the Multiple displays dropdown, select Extend these displays.

Setting Up on macOS

  1. Open System Settings and select Displays.
  2. Click Arrangement.
  3. Drag the display representations so they match your physical setup.
  4. Ensure the Mirror Displays box is unchecked so each panel functions as an independent desktop.

Advanced Navigation Hacks and Shortcuts

Once your hardware is aligned, learning keyboard shortcuts helps you navigate two displays without touching your mouse every few seconds.

  • Windows Key + Left/Right Arrow: Instantly snaps an active window to the left or right half of the active screen.
  • Windows Key + Shift + Left/Right Arrow: Moves an open window directly to the second display.
  • Mac (Option + Green Window Button): Tiles windows easily on macOS layouts.

Managing Taskbars and Virtual Desktops

Having an identical taskbar or dock on both displays can keep your workflow organized without creating unnecessary clutter.

In Windows Display Settings, you can choose whether the taskbar shows all open apps across both screens or only the applications currently residing on that specific screen. On macOS, enabling “Displays have separate Spaces” ensures that full-screening an application on one monitor doesn’t turn the other screen black.

Troubleshooting Common Dual Monitor Issues

  • Blurry Text on One Screen: Check your resolution settings. Ensure both screens are running at their native pixel resolution rather than an interpolated lower resolution.
  • Mouse Cursor Sticking on Edges: Re-align the display boxes in your display settings menu. If one screen is 4K and the other is 1080p, the mouse path can get caught on the virtual alignment boundary.
  • Display Not Detected: Unplug the display cable, restart your computer, and ensure your graphics drivers are fully updated.

Final Thought

Transitioning to a two-monitor configuration is one of the most effective upgrades you can make to your daily workspace. It replaces constant tab-swapping with an expansive, intuitive digital canvas that feels natural to navigate. By choosing complementary displays, optimizing your physical ergonomics, and configuring your OS settings correctly, you unlock a cleaner, faster, and far more enjoyable computing environment. Once you get used to the convenience of two screens, returning to a single monitor is a shift you likely won’t ever want to make.

Leave a Comment

Your email address will not be published. Required fields are marked *

Scroll to Top