
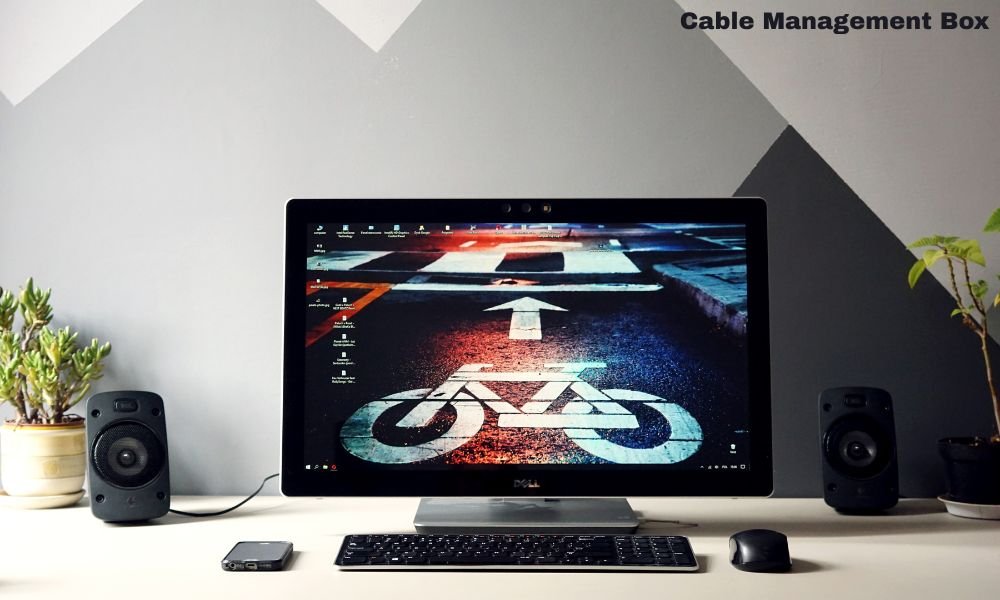
Upgrading your workspace with a crisp, reliable display is one of the most effective ways to boost productivity, improve ergonomics, and enhance your digital experience. Dell monitors are widely celebrated for their color accuracy, build quality, and versatile connectivity. However, taking a monitor out of its box and getting it to perform at its best involves more than just plugging in a single cable.
Whether you are configuring a sleek USB-C workspace, setting up dual displays for multitasking, or tweaking color profiles for creative work, this comprehensive guide will walk you through every step of the installation process.
Unboxing and Pre-Installation Preparation
Before handling the hardware, clear a flat, stable surface like a clean desk or carpeted floor. Dell monitor panels—especially modern UltraSharp IPS or OLED displays—can easily scratch or crack if pressed improperly against rough debris.
When opening the box, you will typically find:
- The main display panel.
- A multi-piece stand (base and riser).
- Power and video cables (HDMI, DisplayPort, or USB-C).
- Documentation and factory calibration certificates.
Keep the display inside its protective foam sleeve while assembling the stand to protect the screen panel from accidental drops or fingerprints.
Assembling the Stand and Mounting Options
Most modern Dell monitors feature a quick-release mechanism that makes toolless assembly effortless.
Standard Stand Assembly
- Align the riser stem with the base plate and twist the captive thumbscrew on the underside until it is snug.
- Slide the top tabs of the stand riser into the mounting slots on the back of the monitor panel.
- Gently press the stand down until the quick-release latch clicks into place.
VESA Wall or Arm Mounting
If you plan to use a third-party monitor arm or wall mount, press the quick-release button beneath the stand attachment point on the rear panel to remove the default stand. Use standard 100mm x 100mm VESA screws to secure your mounting plate directly to the monitor chassis.
Identifying Your Ports and Cable Connections
Understanding the physical connections on both your PC and monitor prevents video output bottlenecks. Dell displays come equipped with several port configurations:
| Port Type | Recommended Use Case | Key Advantage |
| USB-C / Thunderbolt | Modern Laptops & Ultrabooks | Video, data transfer, and laptop power delivery (up to 90W) via one cable |
| DisplayPort (DP) | Desktop PCs & Gaming Rigs | Supports high refresh rates, high resolutions, and daisy-chaining |
| HDMI | Laptops, Desktops, Consoles | Universal compatibility for video and audio transmission |
| USB Upstream / Downstream | Peripherals & Hubs | Turns your monitor into a USB hub for mice, keyboards, and flash drives |
How to Setup Dell Monitor Connection Steps
Once the physical hardware is securely in place, follow this order of operations to establish a clean signal connection:
- Power Connection: Connect the provided power cable securely into the power port on the back of the monitor, then plug the other end directly into a surge protector or wall outlet.
- Video Connection: Connect your chosen video cable (DisplayPort, HDMI, or USB-C) to the video output port on your computer’s graphics card or laptop.
- Connect to Monitor: Attach the matching end of the video cable into the corresponding input port on your Dell display.
- Cable Routing: Feed the cables through the routing slot built into the monitor stand to maintain a clean workspace and prevent strain on the physical ports.
Pro Tip: If your desktop PC has both an integrated motherboard port and a dedicated graphics card (NVIDIA or AMD), always plug your video cable directly into the dedicated graphics card located lower down on the chassis.
Powering On and Initial On-Screen Display (OSD) Setup
With all connections secured, press the power button located at the bottom-right corner or rear panel of your Dell monitor.
If the screen displays “No Input Signal,” use the joystick or physical buttons near the power switch to open the On-Screen Display (OSD) menu. Navigate to Input Source and manually select the connection type you connected (e.g., Auto-Select, HDMI 1, or DisplayPort).
Configuring Operating System Settings (Windows & macOS)
Once your computer detects the display, fine-tune your software settings so images appear crisp and proportions remain natural.
For Windows Users
- Right-click any open space on your desktop and select Display settings.
- Under Display resolution, choose the setting labeled (Recommended) (e.g., $3840 \times 2160$ for 4K displays or $2560 \times 1440$ for QHD).
- Check the Scale percentage to ensure text and apps do not appear microscopic.
For macOS Users
- Open System Settings and select Displays.
- Select your Dell monitor from the list.
- Adjust the resolution scaling to your preferred workspace size and ensure the proper color profile is applied.
Adjusting Refresh Rates for Smooth Visuals
Many high-performance Dell monitors support refresh rates of 75Hz, 120Hz, 144Hz, or higher. By default, operating systems often set new displays to a standard 60Hz.
- On Windows: Go to Display settings > Advanced display. Under Choose a refresh rate, select the highest available frequency supported by your monitor and cable.
- On macOS: In the Displays menu, click the Refresh Rate drop-down menu and pick the highest option.
Fine-Tuning Picture Quality and Color Profiles
Dell monitors feature several built-in color presets tailored to specific tasks. Access these through the physical OSD menu under Color Settings:
- Standard: Balanced default settings suitable for general office work and web browsing.
- sRGB / DCI-P3: Color-accurate modes engineered for photo editing, graphic design, and video production.
- ComfortView / Low Blue Light: Reduces harmful blue light emissions to diminish eye strain during late-night work sessions.
- Custom Color: Allows manual adjustment of individual Red, Green, and Blue (RGB) gain values.
Setting Up Dual Dell Monitors and Daisy-Chaining
Setting up a multi-monitor workflow expands screen real estate significantly. Dell supports Multi-Stream Transport (MST), allowing you to “daisy-chain” multiple monitors together using a single cable from your PC.
How to Daisy-Chain Dell Displays:
- Connect your PC to DisplayPort In or USB-C on Monitor 1.
- Connect a second DisplayPort cable from DisplayPort Out on Monitor 1 to DisplayPort In on Monitor 2.
- Open the OSD menu on Monitor 1, navigate to Display Settings, and set MST to On.
In your computer’s display settings, select Extend these displays so you can seamlessly move your mouse pointer across screens.
Optimizing Ergonomics for Daily Comfort
A correct physical setup prevents neck strain, posture fatigue, and eye discomfort:
- Height Adjustment: Adjust the top third of the screen so it sits directly at or slightly below your horizontal eye level.
- Distance: Position the display roughly an arm’s length ($20 \text{ to } 30 \text{ inches}$) away from your face.
- Tilt and Swivel: Tilt the screen slightly backward ($10^\circ \text{ to } 20^\circ$) to minimize overhead room glare.
Installing Dell Display Manager (DDM) Software
To streamline your workflow, download Dell Display Manager (DDM) from the official Dell support website. DDM offers powerful software-based controls without needing to touch physical monitor buttons:
- Easy Arrange: Pre-sets grid layouts to snap windows into organized quadrants instantly.
- Auto Mode: Assigns specific color presets to open automatically when designated apps launch.
- PowerNap: Dims the monitor or puts it to sleep when your computer enters screen saver mode.
Troubleshooting Common Setup Issues
| Problem | Cause | Solution |
| Blank or Black Screen | Loose connection or wrong input | Check physical cable connections; manually set Input Source in OSD menu. |
| Blurry / Pixelated Image | Incorrect resolution setting | Adjust desktop display settings to match the screen’s native resolution. |
| USB Ports Not Working | Missing upstream connection | Plug the included USB upstream cable from the monitor to your computer. |
| Flickering Display | Damaged cable or old drivers | Replace video cables and update graphics card drivers via NVIDIA/AMD/Intel. |
Maintenance and Screen Cleaning Tips
Keep your display looking brand new with safe cleaning practices:
- Power Off First: Turn off and unplug the monitor to clearly spot streaks and dust.
- Use Microfiber: Wring out a soft, lint-free microfiber cloth lightly dampened with distilled water.
- Avoid Harsh Chemicals: Never spray ammonia, acetone, alcohol, or paper towels directly onto the screen, as they degrade anti-glare coatings.
Final Thought
Taking the time to properly configure your monitor transforms a simple piece of desk hardware into an indispensable productivity tool. From selecting the right connectivity cables to leveraging software utilities like Dell Display Manager, every detail contributes to a smoother, more comfortable computing experience. Now that your screen is assembled, calibrated, and ergonomically aligned, you can enjoy a crisp, clutter-free workspace optimized for work, gaming, and creative projects.