
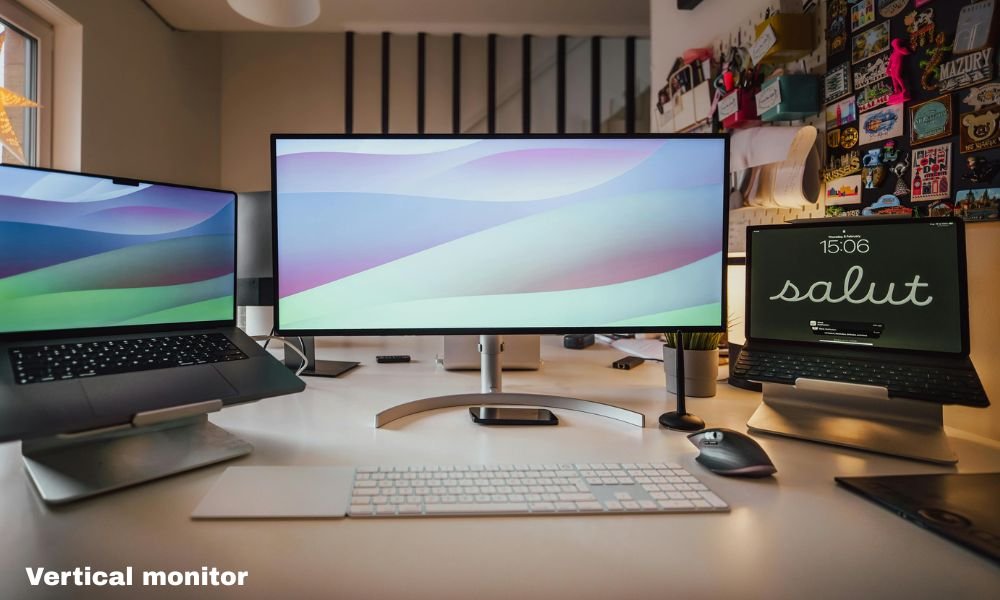
If you have ever caught yourself constantly scrolling through endless lines of code, long-form documents, or crowded social media feeds, you know the struggle of standard horizontal screens. A widescreen is fantastic for movies and gaming, but for focused, vertical content, it leaves a lot of empty space on the sides while squeezing what actually matters.
Learning how to setup vertical monitor displays in your workspace can completely transform your daily workflow. Flipping a monitor portrait-style offers better screen real estate, reduces neck strain, and keeps your visual area organized.
Here is everything you need to know to assemble the ultimate vertical monitor setup from scratch.
Why Choose a Vertical Display Setup?
Before diving into the physical assembly, it helps to understand why so many programmers, writers, and data analysts are switching to a vertical screen layout.
- Enhanced Readability: Vertical orientation mimics a sheet of paper or a mobile screen, making it ideal for reading long articles, PDFs, and code blocks.
- Space-Saving Design: A portrait monitor takes up less horizontal desk space, giving you room for a laptop, desktop speakers, or notepad.
- Multitasking Efficiency: Paired with a primary horizontal screen, a vertical monitor acts as the ultimate reference display for chat apps, music players, or research tabs.
What You Need Before Setting Up
You do not need a specialized monitor to go vertical, but you do need a few hardware basics before starting:
- A Monitor with Rotation Capabilities or VESA Mount Support: Check the back of your display for four standard screw holes (VESA pattern).
- A Sturdy Monitor Stand or Arm: If your default stand does not pivot 90 degrees, an aftermarket monitor arm is essential.
- Appropriate Cables: Ensure your DisplayPort or HDMI cable is long enough to reach the display after it has been rotated and elevated.
Check VESA Compatibility and Stand Features
The first step in learning how to setup vertical monitor hardware is inspecting your current equipment.
Look at your monitor’s factory stand. Some ergonomics-focused monitors feature stands that allow height adjustments, tilting, and a full 90-degree pivot out of the box. If yours does, you are ready to pivot without extra gear.
If your stand is rigid, look for standard VESA mounting holes (usually $75 \times 75\text{ mm}$ or $100 \times 100\text{ mm}$) on the back of the panel. You will need to attach an adjustable single or dual monitor arm.
Assemble and Mount the Monitor Arm
If you are using a third-party monitor arm, follow these steps to secure your display:
- Clamp the Arm Base: Securely fasten the mount base to the back or grommet hole of your desk.
- Attach the VESA Plate: Screw the mounting plate directly into the back of your monitor while it rests safely on a flat, soft surface.
- Slide onto the Arm: Hook the monitor onto the arm standard and tighten the safety locks.
- Adjust Tension: Use an Allen wrench to adjust the arm tension so the display stays in place without drifting downward.
Physically Rotate Your Screen
Once securely mounted, gently rotate the display panel 90 degrees.
Depending on your panel type (IPS, VA, or TN), pay attention to the direction you rotate. Most people rotate counter-clockwise so the cables exit toward the back standard or arm joints. Make sure your cables have enough slack to avoid putting tension on the ports when swinging or adjusting the screen.
Configure Settings on Windows
Once the hardware is positioned, your computer will still display the picture sideways. You need to tell your operating system to flip the output.
Quick Setup for Windows 10 and 11:
- Right-click anywhere on your desktop and select Display settings.
- Click on the box representing your secondary display.
- Scroll down to Display orientation.
- Change the dropdown menu from Landscape to Portrait (or Portrait (flipped) depending on which direction you rotated your screen).
- Click Keep changes when prompted.
Configure Settings on macOS
If you are connecting a vertical monitor to a MacBook or Mac mini, the configuration process is just as simple.
Quick Setup for macOS:
- Open System Settings (or System Preferences).
- Click on Displays in the side navigation panel.
- Select your secondary monitor from the top display options.
- Locate the Rotation dropdown menu and select 90° or 270°.
- Confirm the changes to orient the screen vertically.
Align Displays for Smooth Mouse Movement
One common frustration with multi-monitor setups is mouse cursor jumping. If your cursor gets caught at the edge of the screen, your software alignment does not match your physical layout.
In your OS Display Settings, click and drag the virtual monitors so their visual edges line up exactly with where your physical monitors sit on your desk. This ensures your cursor glides across the seam seamlessly.
Optimize Ergonomics and Viewing Angles
Having a screen positioned incorrectly can cause strain on your neck and eyes. Follow these ergonomic recommendations to keep comfortable:
| Ergonomic Factor | Recommended Adjustment |
| Top of Display | Level with or slightly below eye level |
| Distance | Arm’s length away (20 to 30 inches) |
| Tilt Angle | Slight backward tilt (10 to 20 degrees) |
| Primary Focus | Keep primary tasks straight ahead, vertical screen to the side |
Note: TN (Twisted Nematic) display panels have poor side-viewing angles. When turned vertically, colors may look washed out. IPS (In-Plane Switching) panels are strongly recommended for vertical setups due to their wide viewing angles.
Manage Your Cables Cleanly
Because vertical monitors sit higher off the desk surface, unmanaged cables can look cluttery.
Use cable sleeves or zip ties to route video and power cables down the length of the monitor arm. Always leave a tiny bit of slack near the monitor connection point so you can adjust the angle without yanking out cables.
Best Use Cases for a Vertical Monitor
Now that your vertical monitor setup is ready, maximize its layout potential with these workflows:
- Coding and Development: View over 100+ lines of code at once without constant scrolling.
- Content Creation & Writing: Draft full articles, essays, or long-form documentation side-by-side with research tabs.
- Live Streaming & Chat: Keep Twitch chat, Discord, or Slack open vertically alongside a fullscreen game.
- Social Media Management: Experience feeds on platforms designed specifically for mobile, vertical scrolling.
Final Thought
Mastering how to setup vertical monitor arrangements is one of the easiest, most cost-effective upgrades you can make to your modern desk setup. Beyond the visual appeal, a portrait screen dramatically boosts everyday productivity, keeps critical apps visible at a glance, and improves posture by reducing repetitive neck movement. Whether you are coding late into the night, managing spreadsheets, or keeping an eye on communication channels, adding a vertical screen brings a whole new level of efficiency to your daily workflow.